Writer: Eric Bearing Limited
SKF ball bearings and ball bearing units are assembled as a unit. Before installation, no attempt should be made to disassemble the sleeve and remove the mounting ring from the bearing. When installing or disassembling ball bearings and bearing units, SKF recommends using slings or dry jacks to unload all weight from the bearings and fix the shaft to prevent it from rotating.
SKF ball bearing and ball bearing unit installation steps:
1. Use emery cloth or a fine file to remove all burrs on the shaft, clean it with a cloth, and check the shaft diameter.
2. Install all components located between the two bearings or bearing unit positions to the shaft.
3. Clean the base of the bearing unit and its supporting surface to ensure that the supporting surface is flat and smooth. The flatness should be within the IT7 standard and the roughness Ra≤12.5mm. For vertical housing units, if the height must be adjusted by spacers, the spacers must extend to the entire length and width of the unit base.
4. Slide the first bearing unit onto the shaft, making sure that it can touch its mounting ring. For vertical bearing housing units, screw on the mounting bolts or nuts, but do not tighten them. For flange bearing units, use the centering groove on the back of the bearing seat when feasible to fasten it to the mating surface of the mechanism.
5. Follow steps 3 and 4 to position the second bearing unit on the shaft. For vertical housing units, carefully align the two units with the shaft, and then fully tighten the mounting bolts on the housing base. For flange bearing units, use the centering groove on the back of the bearing seat when feasible to fasten it to the mating surface of the mechanism.
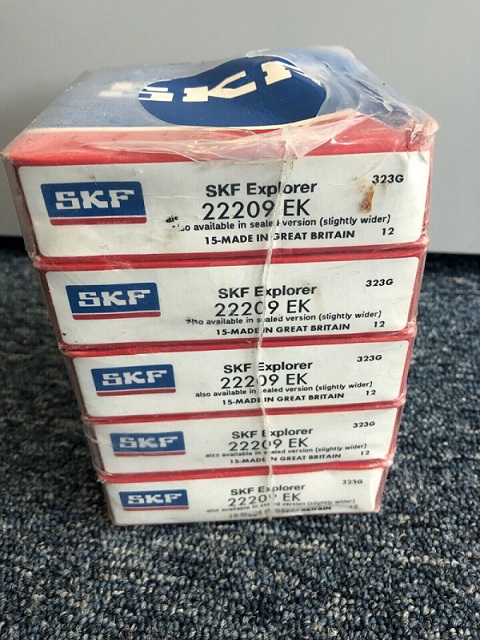
6. Align the shaft axially on the bearing arrangement and rotate it several times if possible. SKF 22209 EK bearings online , pls click here :
7. Fix the first bearing unit to the shaft by positioning the locking ring so that the grub screw is directly located in the opposite direction of the opening on the shaft sleeve. Hold the short handle of the Allen key and tighten the screw manually.
8. Tighten the screw 1/4 turn. Perform this operation twice. Then tighten each grub screw, starting from the screw opposite the opening of the sleeve, until the long handle of the Allen wrench touches the torque indicator provided.
9. Follow steps 7 and 8 to fix the second bearing unit to the shaft. Make sure that the shaft rotates smoothly and the bearing does not block. If the shaft does not rotate smoothly, loosen one of the bearing units according to the disassembly instructions, and then re-fix it.
10 If necessary, snap the end caps into place.
SKF ball bearing and ball bearing unit disassembly steps:
1. An emery cloth can be used to clean the extended part of the shaft to remove rust or repair surface damage.
2. Loosen all screws on the first bearing unit.
3. Gently tap the edge of the sleeve of the bearing mounting ring until the locking system releases the shaft. Or you can knock the end face of the bearing inner ring on the opposite side of the mounting ring.
4. Loosen and remove the mounting bolts, and slide the bearing unit off the shaft.
SKF ball bearings can be inserted into any SKF Y bearing seat:
To do this, insert the bearing into the mounting slot of the bearing housing hole, and use a round wooden rod or tube to turn the bearing into place so that the locking device is on the same side as the mounting slot. In order to avoid damaging the edge of the sleeve, use a pipe or wooden rod slightly smaller than the inner diameter of the bearing. At the same time, avoid applying excessive pressure to the bearing when rotating into place. Ensure that the rotating torque is not transmitted to the opening area of the sleeve.
When installing the bearing, please make sure that one of the relubrication holes on the bearing coincides with the relubrication groove in the bearing housing, and cannot coincide with the installation slot in the bearing housing, otherwise the grease will leak.
Tel: 00852-30697500
Fax: 00852-30697511
Email: sales@ericbearing.com
Message: Click Here Message!